pages

Monday, March 25, 2013

Happy Passover

Today we are celebrating Passover, one of the most important Jewish holidays, celebrating freedom, Miracles and faith. It's also celebrating spring and the awakening of nature.
 
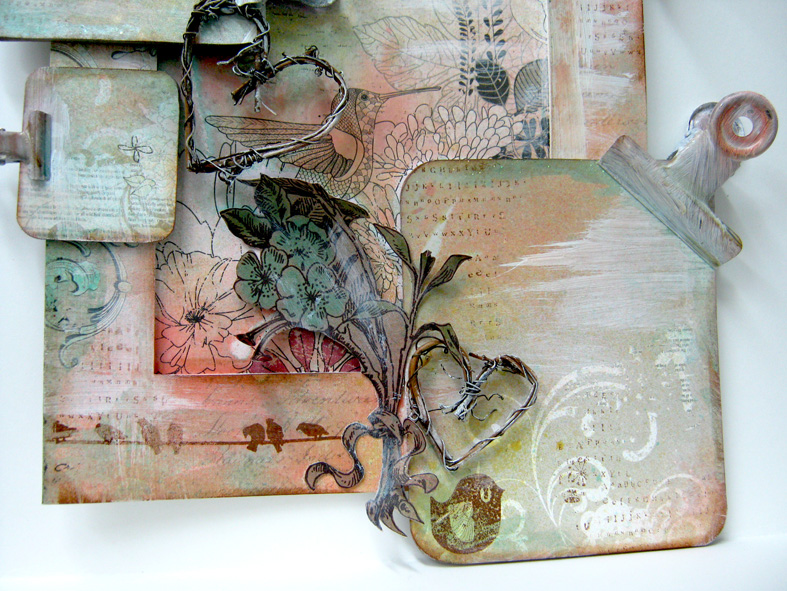
Here's a little freebie tag you can print and use as a gift tag, card or name card.
 
 
Here is the story of Passover in a nutshell: After many decades of slavery to the Egyptian pharaohs, God saw the people’s distress and sent Moses to Pharaoh with a message: “Send forth my people.” But despite numerous warnings, Pharaoh refused to heed God’s command. God then sent upon Egypt ten devastating plagues, afflicting them and destroying everything from their livestock to their crops.
 
At the stroke of midnight of 15 Nissan (The Hebrew month coinciding with April) in the year 1313 BCE, God visited the last of the ten plagues on the Egyptians, killing all their firstborn. While doing so, God spared the Children of Israel, “passing over” their homes, hence the name of the holiday. Pharaoh’s resistance was broken, and he virtually chased his former slaves out of the land. The Israelites left in such a hurry, in fact, that the bread they baked as provisions for the way did not have time to rise. Six hundred thousand people, left Egypt on that day, and began the trek to Mount Sinai and to the Promised Land.
The highlight of Passover is the Seder, a fifteen-step family-oriented tradition and ritual-packed feast.
The focal points of the Seder are:
* Eating matzah.
* Eating bitter herbs to commemorate the bitter slavery endured by the Israelites.
* Drinking four cups of wine or grape juice—a royal drink to celebrate our new found freedom.
* The recitation of the Haggadah, a liturgy that describes in detail the story of the Exodus from Egypt.
I want to wish all my friends a Happy Passover!
May you have a wonderful holiday with your family and friends!
 
Have fun creating!
Einat

Friday, March 22, 2013

Technique Corner: Fine Cutting

My students say I'm crazy. They say if there is no fine cutting in a project it's not Einat's class.
My crafty friends say it's impossible to find a project of mine that has no fine cutting in it.
And I say...I love cutting! When I look at a patterned paper I see exactly that...patterns, patterns that I can cut and use in a project!

Fine cutting is not that scary! Here are a few tips:
1. Start with big patterns and after a little practice work your way to more complicated shapes.

2. Use small scissors or scissors that you can hold comfortably and move easily in small corners or turns.
3. Play with what you cut - ink it, embellish it or give it dimension.

4. Fine cutting is a great way to maximize your leftovers and scraps. Have fun cutting stars, flowers, birds, abstract shapes and more,sometimes you can find just the right embellishment in a patterned paper!
 
Have fun creating!
Einat

Monday, March 18, 2013

inspiration Scroll

We will be celebrating Passover in just a few days. In ancient times the bible and the story of Passover were written on parchment scrolls and were rolled to keep them safe. This has inspired me to create my own scroll, a scroll of, for my Susan Weckesser DT project!


I glued together two Susan Weckesser's patterned papers and created a scroll. I distressed it a little on the sides and inked it to give it a more real look. Then I created my inspirational sentence with Susan Weckesser's stamps and some letter stickers.


I added Washi tape and a little bling (You can't create anything without bling right?) and misted everything with Glimmer Mists.


To create the scroll handles I cut cardboard and rolled it. I stained it with some brown ink and added a golden button on each side. Then I adhered the scroll to the handles and tied it with string.


Inspire yourselves with a project, it will make you smile!

Have fun creating!
Einat

Friday, March 15, 2013

Bulletin Board from....

Styrofoam!
Hello dear friends! I'm happy and honored to be featured in the Smoothfoam blog. An amazing product that is suitable for so many types of crafts! I took a Smoothfoam board and turned it into a bulletin board. This material is perfect for sticking pins to hang all your little notes.

I covered half with paper and half with paint and added embellishments to complete the look.
For a full tutorial go to the Smoothfoam blog.

Have fun creating!
Einat

Sunday, March 10, 2013

DCC Blog Hop - Buttons Galore and More!

Hello dear friends! It's time for another inspiring Designer Craft Connection Blog Hop and this time we all created projects with Buttons Galore's amazing buttons.

I created a buttons bracelet all made with buttons connected together with a metal wire.
I embellished the buttons with some more buttons by adhering different sizes and colors of buttons to each other.

Do you want a chance to win Buttons Galore Buttons and a Viewtainer container?
Simply hop through the Designer crafts Challenge hop using the "hop forward button" at the right side of this blog. Visit all the designers and see their button crafts.
 
As long as you leave your comment on their blog with your favorite button project, no later than
March 17th, 2013 at 11:59 eastern standard time, you will have a chance to win one of the Viewtainers shown above "loaded" with an assortment of buttons and 45 feet of ribbon!
 
Have fun creating!
Einat 

Friday, March 8, 2013

Frame Bulletin Board

Hi dear designing/crafting friends! Today I'm sharing my first DT project with X-MIX an amazing new mixed media and scrapbooking store! I'm really excited to be in the store's first DT and getting my hands dirty!

שלום חברות יקרות! היום אני חולקת אתכן את הפרויקט הראשון שלי בצוות העיצוב של איקס מיקס, החנות החדשה והנהדרת לכל מה שמיקס מדיה ועיצוב אלבומים בנתניה. אני ממש מתרגשת להיות בצוות הזה וללכלך את הידים
 
My project is a frame bulletin board. I always need a place to put all my notes and lists and I want it in front of me so I can be reminded of it whenever I look up. So I created a bulletin board combined with a frame. This way I can hang my notes and look at something pretty at the same time.
 
הפרויקט שלי הוא מסגרת לוח מודעות. אני תמיד מחפשת מקום לשים את הפתקים שלי, אז יצרתי לוח מודעות משולב עם  מסגרת כך שגם יהיה לי מקום לתלות את הפתקים וגם אוכל להביט על משהו יפה באותו הזמן.
 
For the frame I used a cardboard frame that was inside a wooden frame. I covered it with paper, stamped it and added a little Gesso. I did the same with the bulletin board set. Then I cut the flowers and bird from a patterned paper and added to the frame. I adhered the bulletin boards to the frame and misted everything with glimmer mists. 
 
למסגרת השתמשתי במסגרת קרטון שהיתה בתוך מסגרת עץ. כיסיתי אותה בנייר, החתמתי והוספתי מעט ג'סו. חזרתי על התהליך עם לוחות המודעות וגם צבעתי את הקליפסים של המתכת בג'סו. חתכתי מדף את הפרחים והציפור והוספתי למסגרת.  הדבקתי את הלוחות למסגרת וריססתי את הכל בגלימר מיסט.
 
Materials list
Papers:
Moxxie - Spring has Sprung - Bluebird, Prima - Randelle collection - Pannave, Polanaise,
Embellishments:
Darice - Grapevine Miniatures - Hearts.
Stampendous - Clip Boards
Stamp: Prima
Ink: Distress ink - Ranger
Gesso: Ranger
Glimmer Mist: Tattered Angels
 
Have fun creating!
Einat

Sunday, March 3, 2013

Spellbinders Upcycled Juice Carton

I'm so excited and honored to be the first designer to kick off the new and inspiring International Flair section in the Spellbinders blog SpellbindersExploreBeyond.com!
To celebrate this new exciting adventure I'll be sharing with you all a great fun tutorial on how to upcycle your milk/juice empty carton.

This project is all about displaying your photos where everyone can see them! The carton will be transformed into a wonderful house frame holder for your memorable photos.
 
 Here's what you'll need to create this project:

Spellbinders Nestabilities – Labels On
Spellbinders Media Mixage – Triangle One Bezels, Triangle One Dies, Ephemera Papers Two
Patterned paper - 7 Dots
Martha Stewart Border Punch
Flowers - Prima, Kaiser Craft
Key Embellishment – K&Company Metal Art
Brad – Recollections
Acrylic Paint – DecoArt – Americana – Buttermilk
Gesso - Ranger
Mask – Prima (bricks)
Brown Ink – Ranger
Resin – Ice Resin
Other – Metal chain, rings and hinges, beads, glitter
1. Prepare the carton: empty it and wash it thoroughly. Let it dry completely before closing the cap.
2. Cover the carton with Gesso (including the plastic cap). Let dry.
3. Paint the carton with acrylic paint of your choice. I used buttermilk. Let dry.
4. Create brick pattern on the carton with the mask and distress ink.
 
 5. Punch strips of patterned paper with a border punch. Adhere on the top diagonal part of the carton to create the roof tiles. Add strips to the front of the roof as decorative trims. Ink the edges. TIP: when you adhere the strips around the cap, mark the place of the cap with a pencil and cut the strip to fit.
 
6. Cut frames with Spellbinders Nestabilities and adhere on all sides of the carton. Combine different colors of paper and different sizes of frames to make it interesting!
 
7. Add metal hinges (I got mine from a DIY store).
 
8. Create metal flags: Cut triangle paper shapes with Spellbinders Media Mixage Dies and insert in compatable
9. Attach rings to bezels and hang the bezels to a metal chain. Ahere the chain and triangles to the carton so they will stay exactly where you want them. I also added a brad to give the illusion that the chain is hanged.
10. Add key embellishment and flowers all around the bottom of carton. 
11. Now all you need to do is cut your photos with the frame dies and adhere them to their place!
 
Have fun creating!
Einat
 

Friday, March 1, 2013

Spring Freebie

I don't know what the weather is like where you live, but here it's nice and warm and spring is definitely is in the air. Flowers are starting to appear, the day is getting longer and Passover is just three weeks away...well, spring is here for sure! To celebrate spring here's a fun freebie for you!

I had many questions on how to use the freebies. They can be used in two ways:

1. PNG file for digital designs: copy the png file and use it as part of your digital designs. It will work with graphic programs like photoshop. This type f file has no background so you can plant it anywhere.
 
2. JPG file for traditional designs: copy the file and print it on paper. Then you can cut it around the edges or cut it in a shape or a frame with your cutting machine.
 
You can find more freebies here: http://scrapinit.blogspot.co.il/p/freebies.html
 
Have fun creating!
Einat