pages

Showing posts with label recycle. Show all posts

Saturday, August 30, 2014

Faux Leather TP mini Album - THE PAGES!

WOW!! I got so many amazing responses. Thank you! I'm so happy you liked this mini album as much as I did. Wasn't it really fun and easy to make? Well...after much anticipation here comes the second part...THE PAGES! We'll venture into these beautiful pages and learn how to create them one by one!

Let's get started!


This album is full of interactive surprises. Pockets, flaps and more... as well as handmade embellishments that will take your breath away. Some of the work is delicate and requires patience but believe me, it's worth it!


Since TP rolls are already pockets, that part is rather easy. All you need for this part is to add tags. I used scraps of paper from Tim Holtz papers to create the tags. To embellish the tags I add a cogwheel or sticker to each one.


The most challenging pages were the corset opening page and the butterfly embellishment page. They took a long time to plan, but you're lucky I've done all that for you already. They do need patience to create but I think you'll agree it's worth the time.


In general the entire mini album took longer to make then I originally thought partly because I tend to try almost every possibility when I design until I'm happy. So I need to work on that... I've managed to edit the video so it will be much shorter but still simple and easy to understand.
Make sure to watch the video tutorial for all those important steps to create all the pages!


I will be happy to see how your mini albums turn out. If you make one please share!

Follow me on Facebook and YouTube for more crafty treats!

Have fun Creating!
Einat

Saturday, August 23, 2014

Faux Leather TP Steampunk Mini Album

I love techniques. I love finding new ways of using old unwanted or unneeded things, namely recycling and reusing. I love mini albums. I wonder...if only I could come up with an idea that will combine all three....

Wait!! I found it...a faux leather mini album made from toilet paper rolls!


This fun project started one day as I realized how many TP rolls we throw away all the time. I really wanted to do something with them. I've seen TP mini albums before but I wanted to do something different and incorporate a little mixed media, techniques and messiness.


I transformed all TP rolls to pocket pages that look like leather and believe it or not kind of feel like leather too. I've used a special technique to make that look and you will not believe how easy it is! You only need water, Glycerin and a spritzer. You wet the rolls, crumple them a few times and then ink them and you have that leather look. I also embossed some of the pages for extra texture.


I made the cover from chipboard pieces and a simple binding mechanism to attach the pages. This tutorial was so much fun, however it turned out to be too long for one time so I divided it to two parts.

Make sure to watch the video for the step by step instructions on how to create the mini album.

Follow me on Facebook and YouTube for more crafty treats!
Have fun creating!
Einat

Saturday, August 16, 2014

Mixed Media Altered Paintbrush

I've been wanting to alter a paintbrush for awhile but I just never found the right one. All the paintbrushes I could find always seemed to be too small. I wanted a big paintbrush so I can treat it like a canvas and so a mixed media creation on it. Well... I finally found one, or my husband did. A 6" paintbrush with a wooden handle (much easier to paint than plastic)...what a joy!


I wanted to create a colorful, happy scene with lots of flowers and give it a homey feeling by adding a white picket fence and a street light.


I started with covering the paintbrush with gesso and then stenciled the entire surface of the paintbrush including the bristles. Then I colored it with spray paints creating a multi colors textured background. I added the fence and the street light and embellished with layers of many bright colored flowers. I also added more textured with cheesecloth and lace I colored with the same sprays.


Altered projects are so much fun and it just goes to show you never throw anything away because you never know what your creative mind will come up with!
Do you have any fun ideas to reuse old unwanted things?

Make sure to check out the video tutorial for all the details, tips and techniques!

Follow me on Facebook and YouTube for more crafty treats!

Have fun creating!
Einat

Tuesday, August 5, 2014

There Is No Place Like Home - House Projects

"Storms make trees take deeper roots" Dolly Parton

This quote speaks to me so loudly. In the last four weeks this is exactly how I feel. Those out there who fire rockets and want us destroyed just make me more determined! This is my home, it's the only place we have in the world. It's my family's and my friends' homes and we are here to stay.
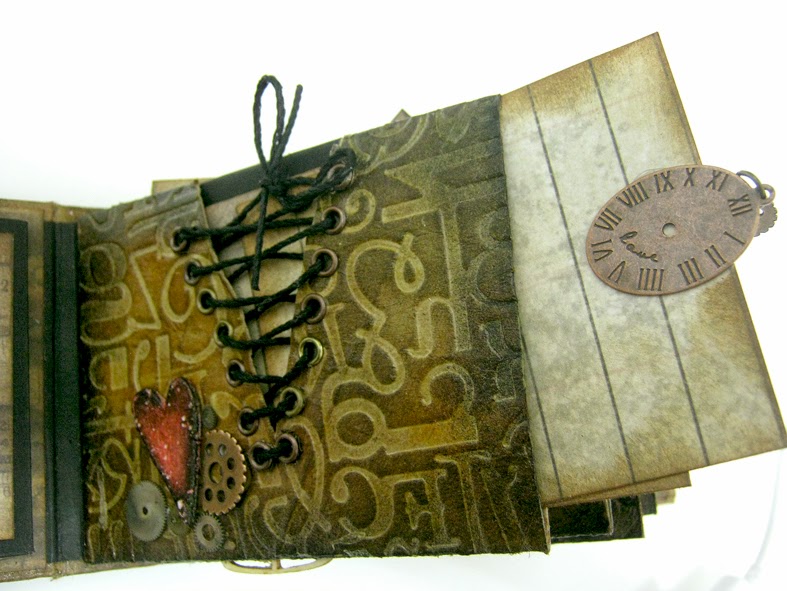
While thinking and pondering about this I realized I made a lot of house theme projects during the years probably because this subject is important to me. I wanted to share these projects with you because I know this subject speaks to you too.


This is a layout I created with a photo of my mom and aunt when they were little girls. I created a background with bright colors as a childlike scene with flowers and a house. Happy, fun and nostalgic page.


My first video tutorial more then a year ago. Time flies when you're having fun! It's a mixed media, technique packed canvas with the house as a central focal point. If you want to revisit the video tutorial here's the link: http://youtu.be/HI0SEIGuLRI?list=PL2hIgklxaiuXMAdlaEk0ZYJEbp7RAgOuo


This a DT project I created for Susan Weckesser Inc. It's a house in a capsule of flowers and love. Note that the love breaks through the wall to the outside...


Another DT project, this time a frame cluster for family photos with a house in the center. This is a great piece for a wall in your home or as a gift.


This project was created as a workshop called House of Memories. It was a really fun workshop that produced different houses because each participant made a different roof and added different photos.


My favorite house projects are the two recycled houses from milk cartons. Both houses are photo displays for family photos. One a vintage flowery garden display and the other a spooky house for Halloween. You can find a step by step video tutorials for the Spooky House here:  http://youtu.be/E2g0qu02Pf8?list=PL2hIgklxaiuVG-o5vzJZHF8RmuPMgjPid


Finally a3D shadow frame with the famous quote: "Home is where the heart is". This project has layers of flowers as background and many 3D items and embellishments like a little high stool, shelf with books and a small garden bed with grass. There are even two quilled 3D pots with plants on the top of the frame.


To close this homey collection, a snowy card with a house in the snow for the holidays.

There are more house projects I created, many more then I realized when I started writing this post, but I think these are the top ones. Do you have any house projects? Try and create one, it'll warm your heart for sure!

Have fun creating!
Einat

Saturday, May 3, 2014

Steampunk Metal Man Box

You already know I love creating crafts with a steampunk look. This time I thought why not take it a little bit further and create a 3D craft which will have a steampunk style. Since I've been creating Father's Day videos all week as part of a DT assignment I got that theme stuck in my head and decided to create a masculine project.


I first covered a chipboard box with torn pieces of patterned paper. Then I started working on the steampunk metal man. I used an old car light bulb for the body and some flat head screws for the legs. I attached it all together making sure it's balanced so the metal man could stand.


I created the head from a bottle cap and the face from clock parts. I attached the head to the body and let it dry. Then I added the hands from the same screws as the legs and embellished the body with more clock parts and gears.


After the metal man was ready and dry I attached it to the cover of the box and added more embellishments to complete my look.


Check out the step by step video tutorial with the complete supplies list to see the entire process.

Have fun creating!
Einat

Saturday, March 15, 2014

Memory Time Capsule

As some of you know I lost my grandmother early this week. She was an amazing brave woman who picked up the pieces of her life after the holocaust, built a family and a life. I wanted to create a little something to put on a shelf above my work table so I can be inspired by her and remember her. I got an idea while finishing a masking tape. The empty roll reminded me of a clock and the idea just popped into my head, I'll create a time capsule.


I first covered the roll with patterned paper from all sides and then added an embellished house and felt trees. I wanted to create a scene in time from many years ago so I used an old photo of my grandmother with her twins, my mom and aunt.


I added a picket fence and flowers to create a little garden. Then I added a bicycle and some chipboard birds to make it even more cheerful and happy.


It was sad and happy at the same time to create this time capsule but I'm really happy with how it turned out.

Make sure to check the step by step video tutorial on how I created the time capsule.

Have fun creating!
Einat

Saturday, March 1, 2014

Altered Steampunk Notebook

Altering things is so much fun and environmentally good because instead of throwing stuff away you reuse them, upgrade them and alter them into something new and exciting! I always have a small notebook with me to write ideas, doodle things and make lists, so instead of living it as it was I altered it into a steampunk extravaganza. This is a DT project for Spellbinders that I had a lot of fun creating!


Steampunk is basically a genre in art that combines Victorian age machines and mechanical parts with fantasy, science fiction and more to create art. So to create the steampunk look I used clock parts, springs, metal parts and embellishments in a collage of "moving" parts. I also created a dark look to the cover to enhance that look.


The main focal point of the notebook is the mini shadow box created by upgrading the front cover and adding a the Spellbinders square bezel filled with clock parts and other embellishments.
A little tip: when you work with small parts to create a collage use tweezers to help you position all the different embellishments exactly where you want them.


You can watch the start to finish video tutorial to see the entire process and create a notebook for yourself.

Have fun creating!
Einat

Saturday, December 21, 2013

Snowman mixed media canvas

Last weekend we had some crazy weather, lots of snow in not very high places, blackouts, hail storms and non stop rain. All that inspired me to go all wintery and create a snowy mixed media canvas with a happy little snowman.


I've reused one of my un needed 6" X 6" canvases and covered it with gesso. Then I added two large acrylic snowflake shapes and covered them with gesso as well. I added a little light blue color with a color spray and a baby wipe.


To create the snow I used two layers of cheese cloth that reminded me of the snow texture and whiteness. I added my stamped embossed snowman and a title. For more festive atmosphere I also added little snowflakes made from rhinestones and a little bling with stickles.


You can join me for a step by step video tutorial for all the details!

Have fun creating!
Einat