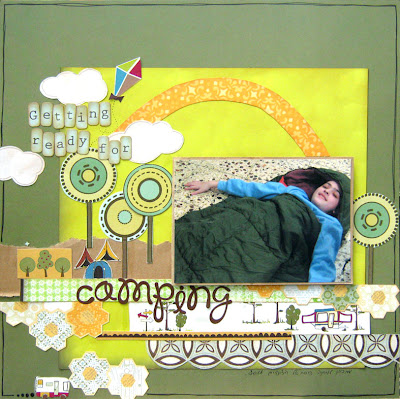
1. To create the flap you'll need one 4" by 6" photo and two smaller photos. The flap is great for creating more space on your layout there by enabling you to add more photos as well as hiding photos which are not so perfect but you still want to use.
2. Take a 4" by 12" piece of double sided cardstock and fold in half.
3. Adhere the flap to your layout by putting glue only on the bottom part of the flap.
4. Adhere the large photo on the outside flap.
5. Adhere the two smaller photos to the inside of the flap.
6. Add embellishments, title and your interactive layout is ready!
Have fun creating!
Einat


No comments:
Post a Comment